Star Wars Armada – Battle Report 2 – We’re Jammin’
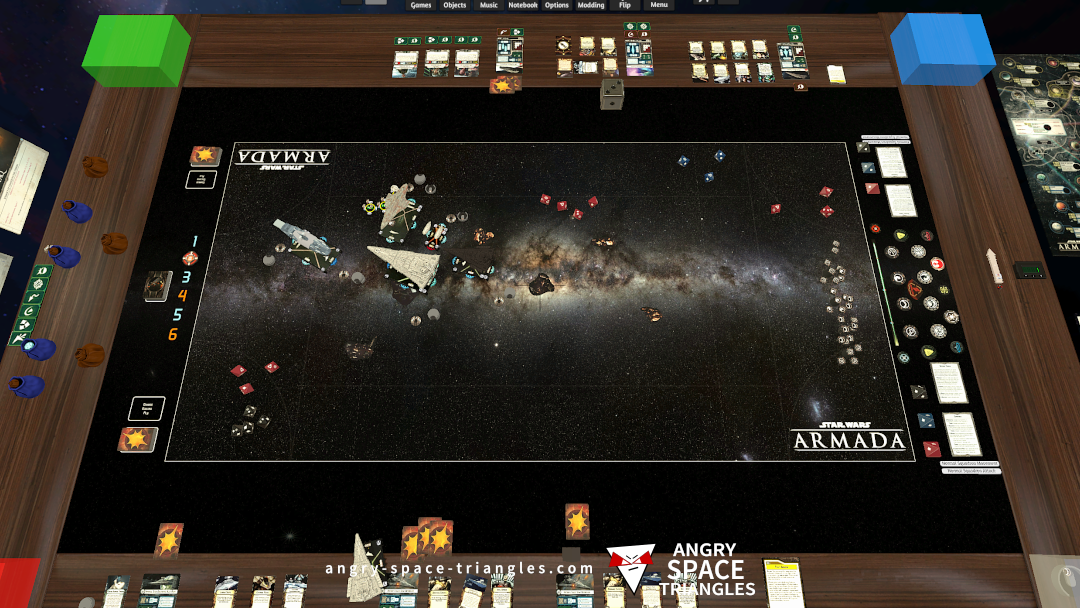
A battle between Rebels and Imperials. Jerjerrod vs Madine. A fighter-heavy engagement with use of TIE phantoms and Jamming Fields.
If you have more details—such as the origin of the string (e.g., a game, simulation, archive, or dataset), the actual research question, or the correct title/identifier—I would be glad to help structure a paper, outline a methodology, or locate relevant sources.
A battle between Rebels and Imperials. Jerjerrod vs Madine. A fighter-heavy engagement with use of TIE phantoms and Jamming Fields.
Our first battle running stuff from wave 6.
We see a Light Carrier, Hammerhead and Disposable Capacitors getting a try-out.

Some commentary on Battle Report 4 concerning Warlord, Captain Jonus, Biggs Darklighter and more.

A write up of interesting observations and learning from my most recent Star Wars Armada battle.
– Jamming Fields
– Suppressor
– TIE Phantoms
– E-WIngs
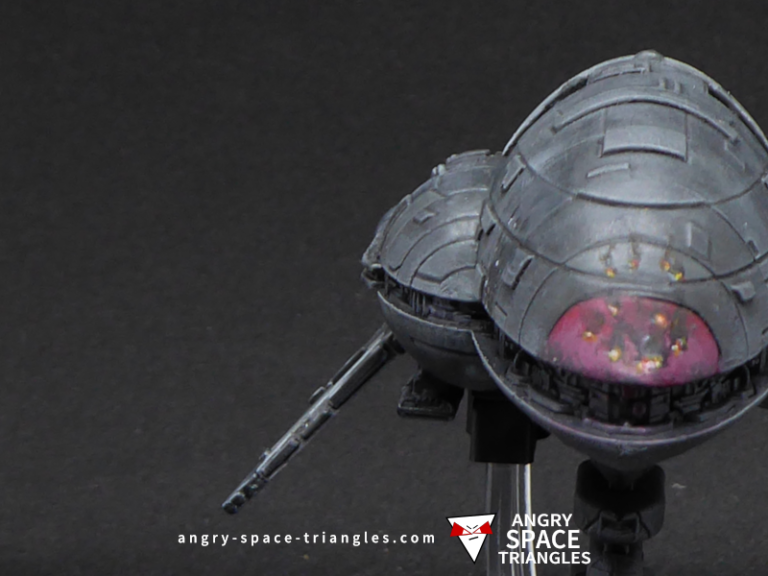
A Rebel Assault frigate that I rescued and painted up in grey. Extensive usage of dry-brushing for highlights.

A recently painted squadron of Rebel Fighters for Star Wars Armada. A-Wings, Y-Wings, B-Wings and X-Wings.